yeah so I crushed this.
when it came to save the dates I didn't have any opinions. I just wanted them to be on recycled craft paper, use our designated font, convey the overall awesomeness of our wedding, and be an outlet for my natural creativity to flow.
okay so maybe I had some opinions.
so I started with a comfortable medium for me: PowerPoint. I knew, okay I quickly learned that print shops are very particular when it comes to printing on pre cut cards. So i decided to do a size that would fit into 8.5 by 11 piece of paper and cut it down.
using our designated font (more on that later) I came up with the following design, which would produce four save the dates per piece of paper. i saved the file to a usb drive from etsy and went to the local print shop to have them printed on recycled craft paper. then i sliced them up with their fancy paper cutter.

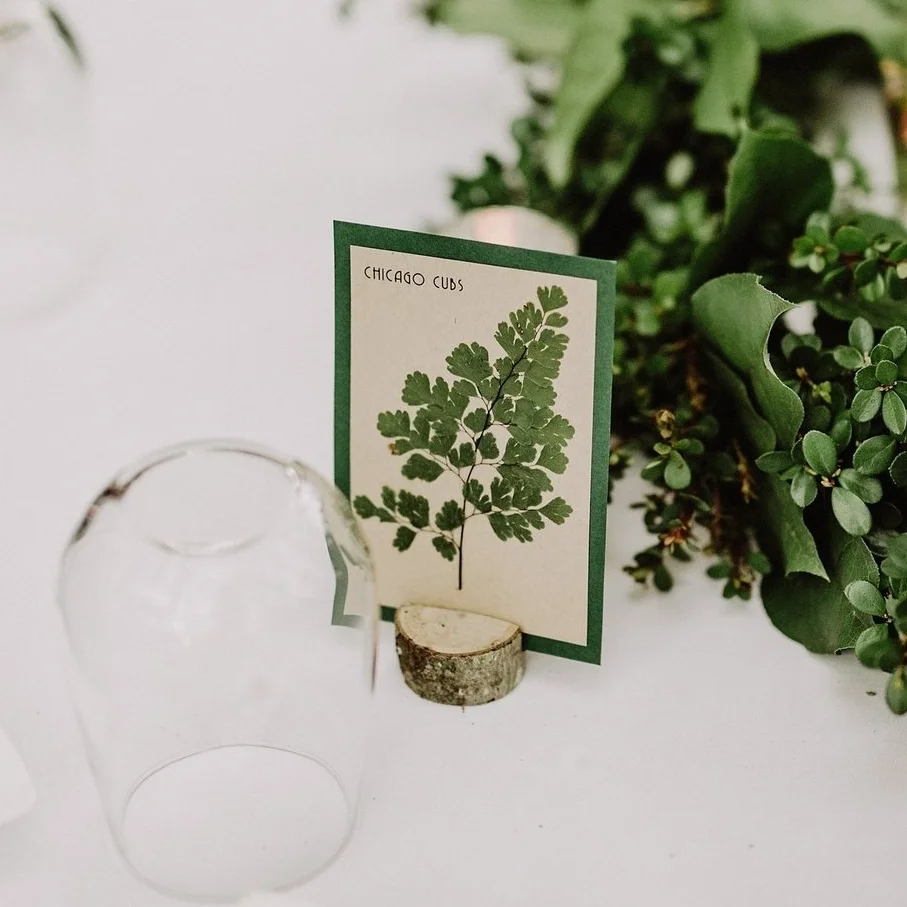
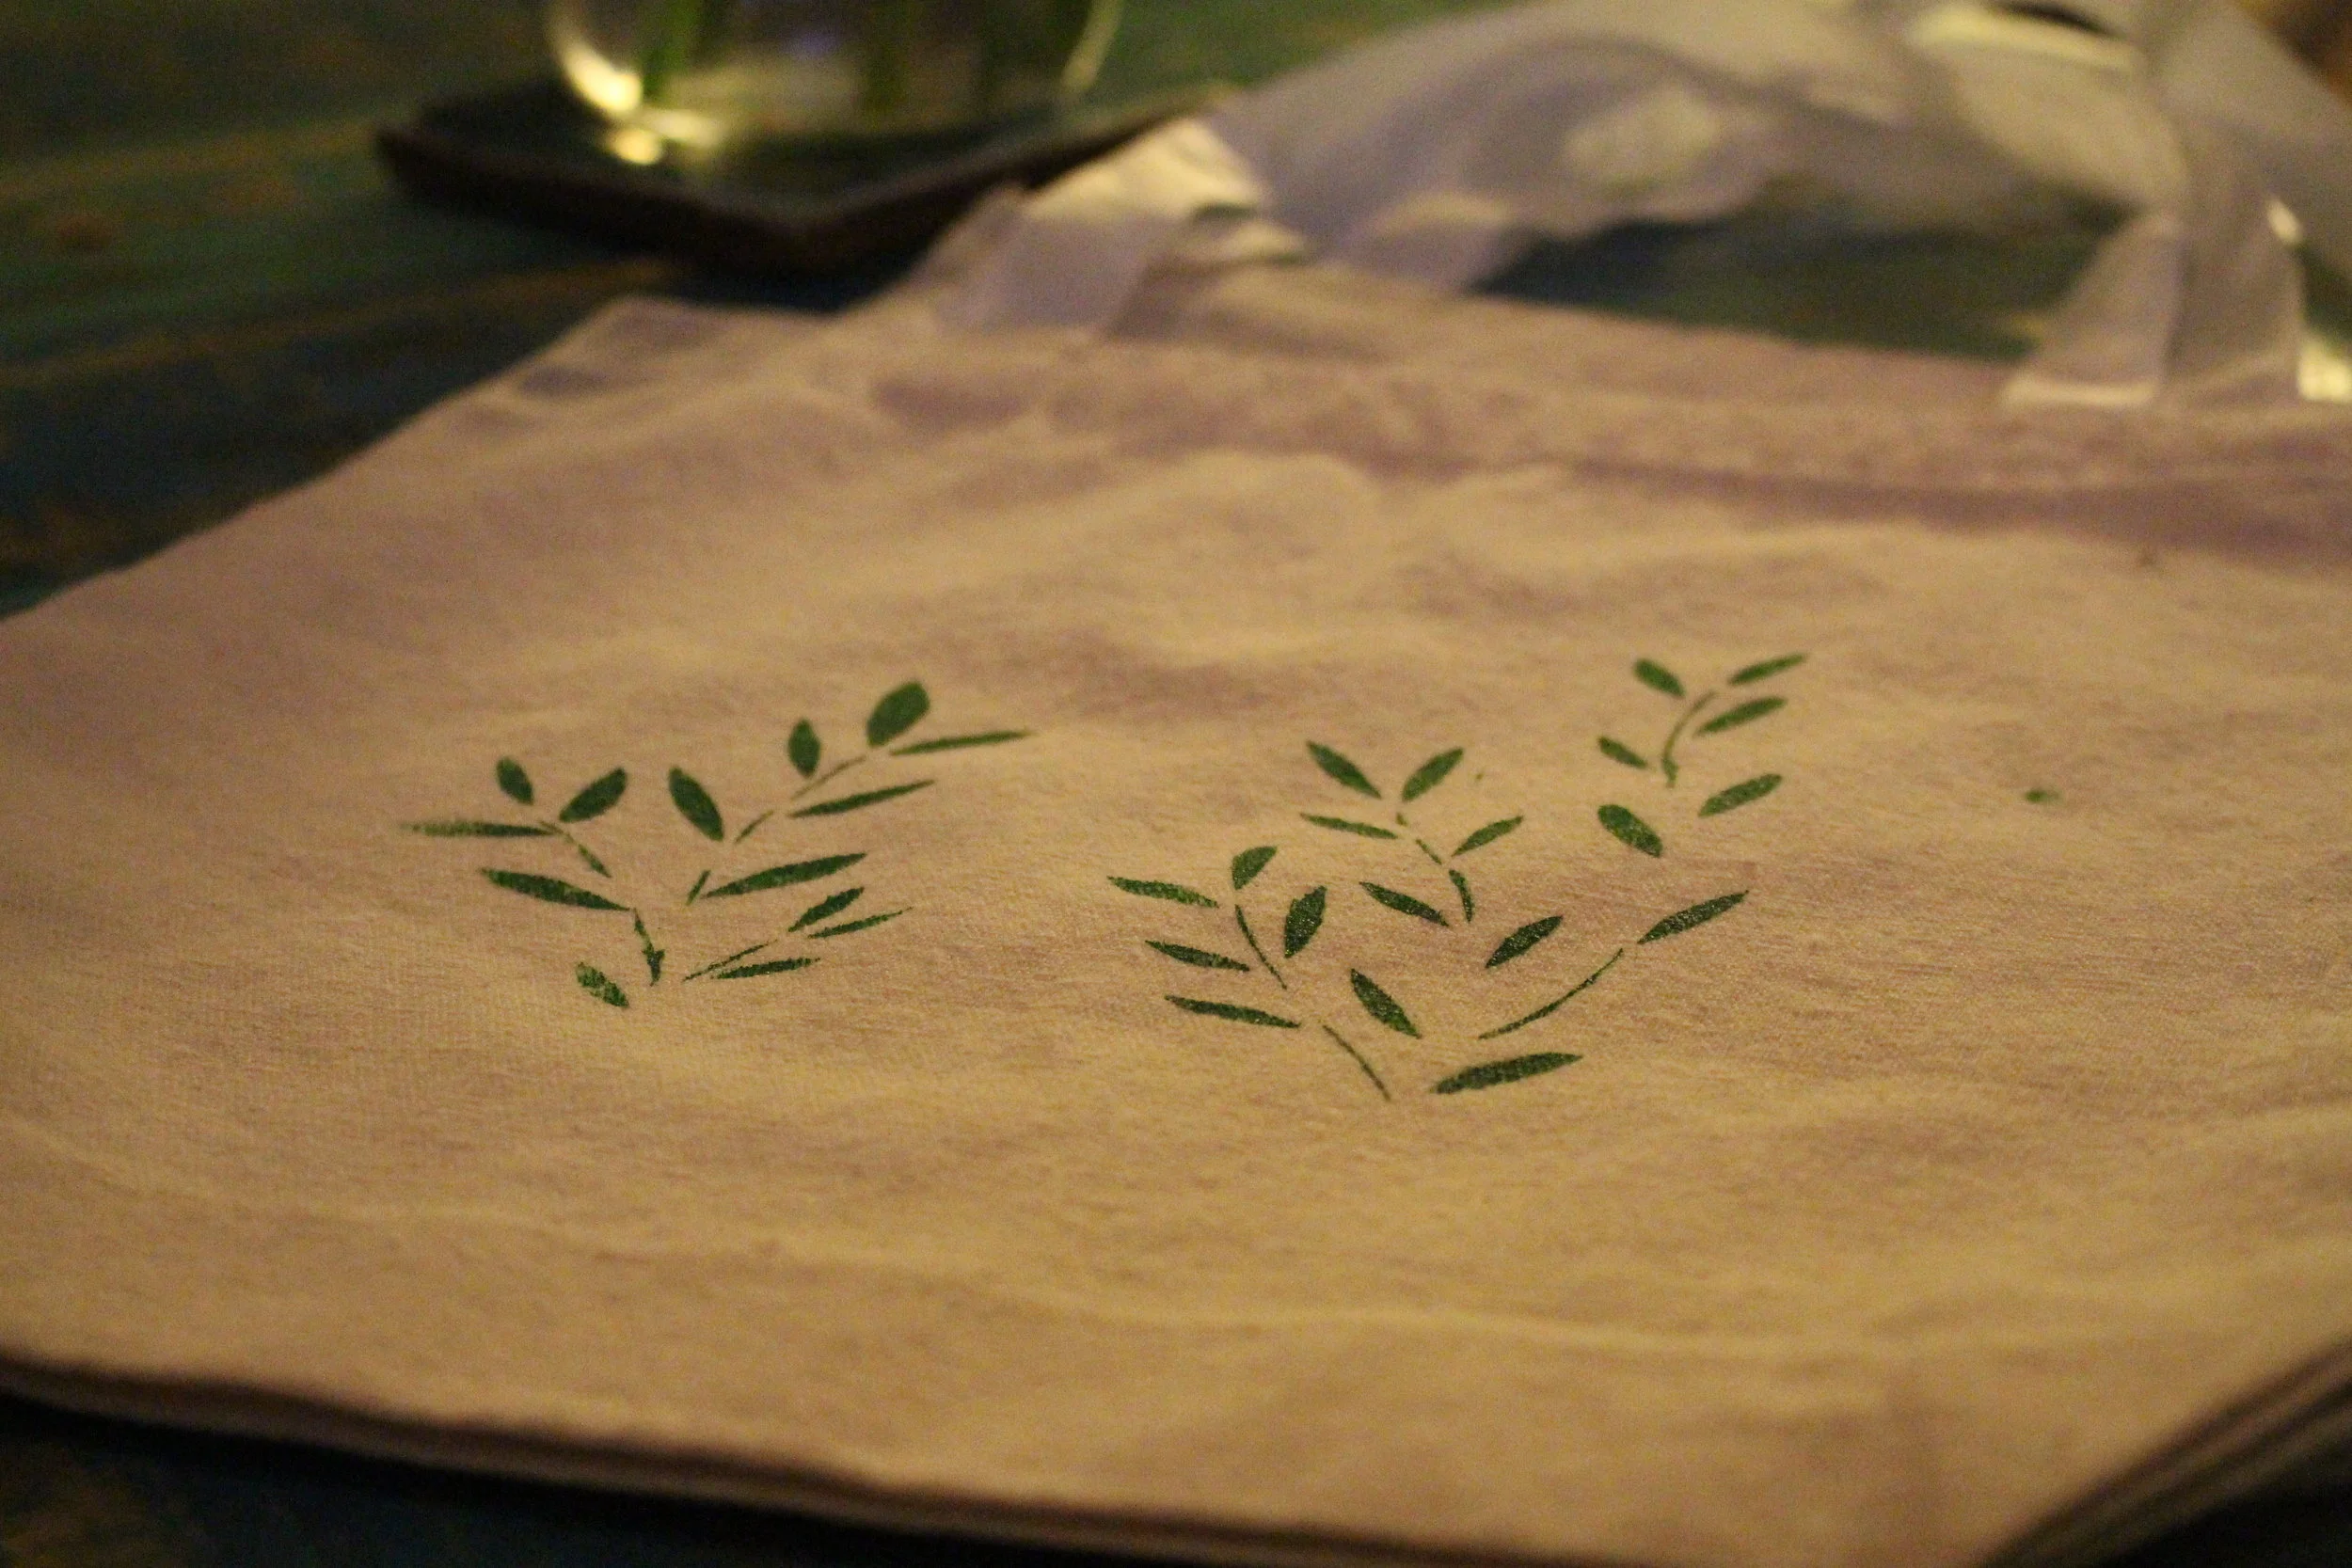
next up: the ferns. for weeks I had been cutting/collecting fern leaves and pressing them admist parchment paper.

I experimented with three different methods of affixing the ferns to the cards:
- apply rubber cement liberally to the card, placed the fern on top, waited for the cement to dry, then rubbed it off.
- sprayed the whole card with spray adhesive then affixed the fern on top.
- sprayed the back of the fern with spray adhesive then used tweezers to gently place it on the card.
the first method was very intense and in rubbing off the rubber cement i would often damage the fern leaves, the second method made the whole card sticky, and the third method was perfect.


then I repeated the process 79 times.

i have to say some of the results were pretty stunning.


once the actual cards were done I turned my attention to the envelope. using a custom wax seal with our "modern monogram" (more on that later) from nostalgic impressions i sealed off each envelop.

I'll do a post soon on my method for this, because I definitely learned a few things in the process.

this was so much fun. adding the wax made the envelopes more expensive to send ($0.68 versus $0.47) but it was so worth it.

for the return address i had a stamp made by the good folks at simon's stamps (who i also used for my custom logo) in our designated font and stamped the back of each envelop. finally we ordered 100 custom stamps with various pictures of our little man and affixed them to the envelops.

oh and because i'm a numbers person here is how the save the date cost broke down. i didn't include the wax seal and return address stamp because we'll be using those again, and again, and again. but all in all it came out to about $150 and half of that was postage.
Save the date cost breakdown
up next in wedding planning: our modern monogram, copper spray paint, the website, and so many ferns.